Remote visualisation with GSISSH-Term
Remote Visualisation at LRZ with GSISSH-Term
GSISSH-Term contains 4 tools, SFTP Session, Terminal Session, VNC Session and Secure Tunneling, in addition to its basic GSISSH terminal functionality. To perform remote visualisation at LRZ, the VNC Session tool can be easily used. Thus, users do not have to install TurboVNC (and TurboJPEG) and can begin their visualisation conveniently on various OS machines.
Precondition
It is assumed that GSISSH-Term is already set up and you can successfully connect to LRZ's resources. If not, please refer to section Setting up GSISSH-Term for more information.
Remote Visualisation Guide
There are 2 remote visualisation systems on the Linux Cluster at LRZ.
Linux Cluster users: gvs3 or gvs4 accessible from any of the Linux Cluster login nodes.
Step 1: Connect to the Remote Visualisation System
Gsissh to the remote visualisation machine via GSISSH-Term.
Linux Cluster users: gvs3 or gvs4
Step 2: Setting/Changing VNC password
For first time users, you have to set your VNC password on the respective remote visualisation system with the following command.
vncpasswd
If you have forgotten your VNC password, you can reset it with the same command. While setting or resetting your VNC password, you will be prompted with the following question:
Would you like to enter a view-only password (y/n)?
If you answer yes ("y"), you will be asked for another VNC password. This 2nd password can be given to your fellow colleagues or project members to log in to your VNC session. They will have only read access to your session.
Step 3: Reserving a VNC session
The easiest way to reserve a VNC session is to use the following command:
rvnc
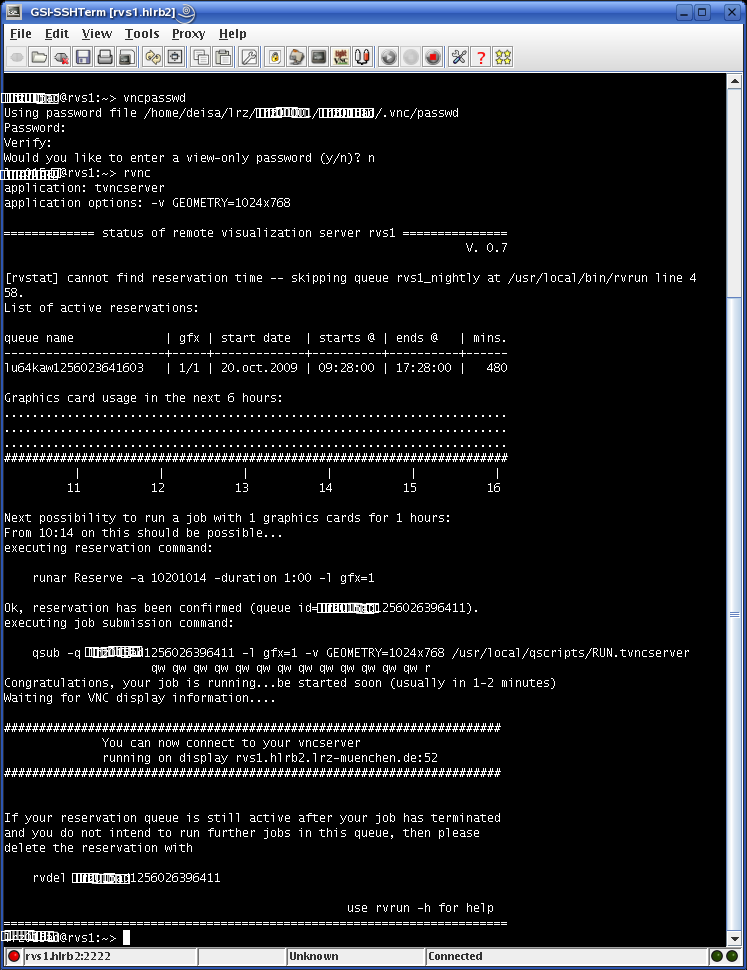
It will take 1-2 minutes for the reservation to be completed. You will see the following text being printed on the console:
New 'X' desktop is gvs3:4
The number 4 is the display number for this particular VNC session. You would have to prepend 59 to the actual port number (e.g. 5903). This will help you reserved a one hour VNC session. The following image is an example of the typical console output you will see.
For advanced users who would like to reserve a longer VNC session (> 1 hour), please read on. For users who would like to begin their visualisation, please proceed to Step 4.
To reserve a VNC session, the following command should be used:
rvrun -d {hours:minutes:seconds} -v GEOMETRY=1280x1024 tvncserver
This -v GEOMETRY=1280x1024 option can be omitted if you are satisfied with the default 1024x768 pixel desktop.
An example: To reserve a 2 hours and 15 minutes session on RVS1 with a 1028x1024 desktop, the command used is:
rvrun -d 2:15 tvncserver -v GEOMETRY=1280x1024
More information about reservation can be found here.
Step 4: Connect to the Remote Desktop via GSISSH-Term
On your GSISSH-Term menu, select "Tools->VNC Session". The following window will be shown.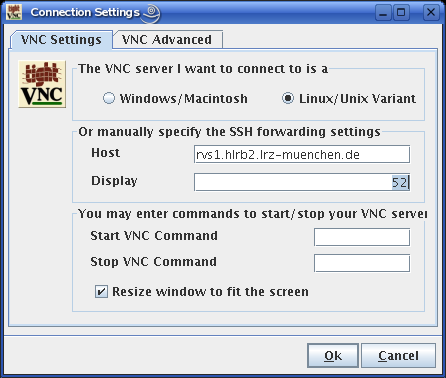
You only have to change value in the text field "Host" and "Display".
For Linux Cluser users
Host: gvs1.lrz-muenchen.de or gvs2.lrz-muenchen.de
Display: 59xx {xx is the port number you get when you reserve for a VNC session }
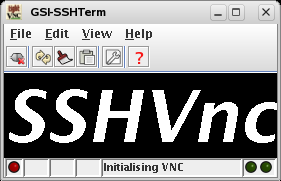
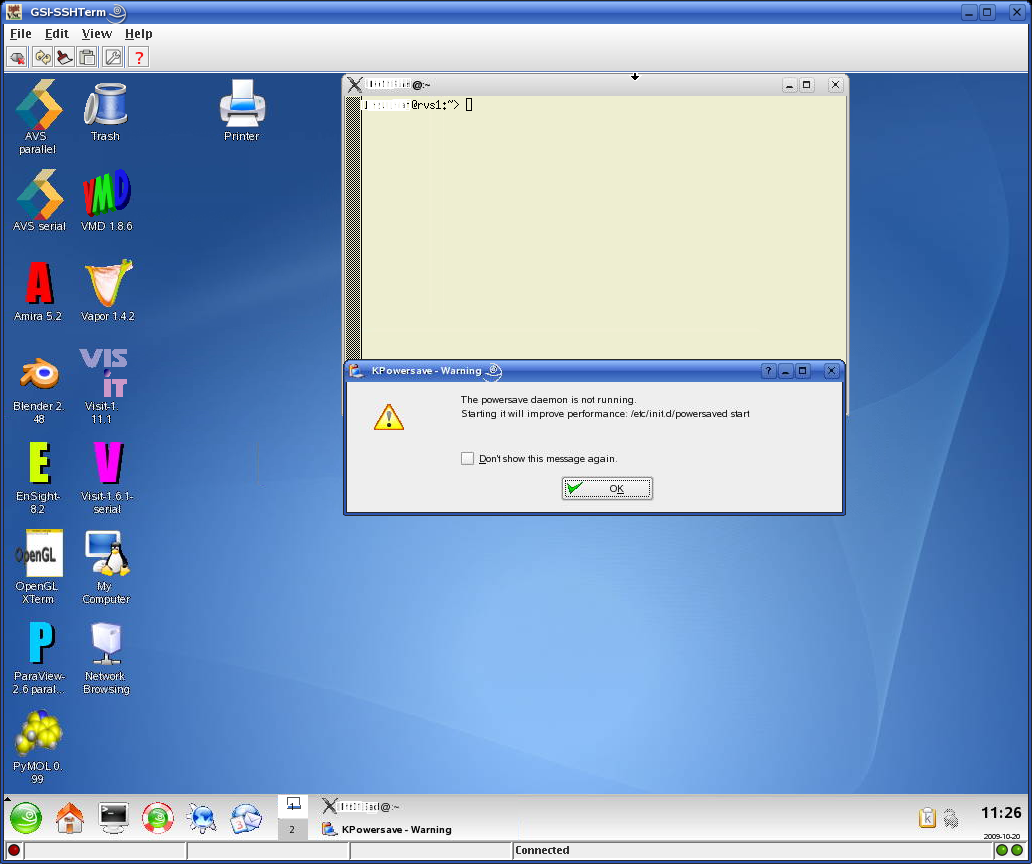
Now, click on the "OK" button. Two new windows as shown below will be initiated.
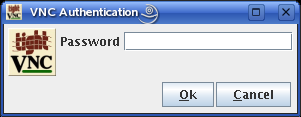
Enter the VNC password that you have set/reset in Step 2 in the "VNC Authentication" window. Click on the OK button. The Remote VNC Desktop should now be shown.
You are now ready to begin your remote visualisation. LRZ provides support for many visualisation applications like, Amira, AVS/Express and MathLab. For more information, please refer to this url.
If you face any problems, please contact grid-admin@lists.lrz.de.